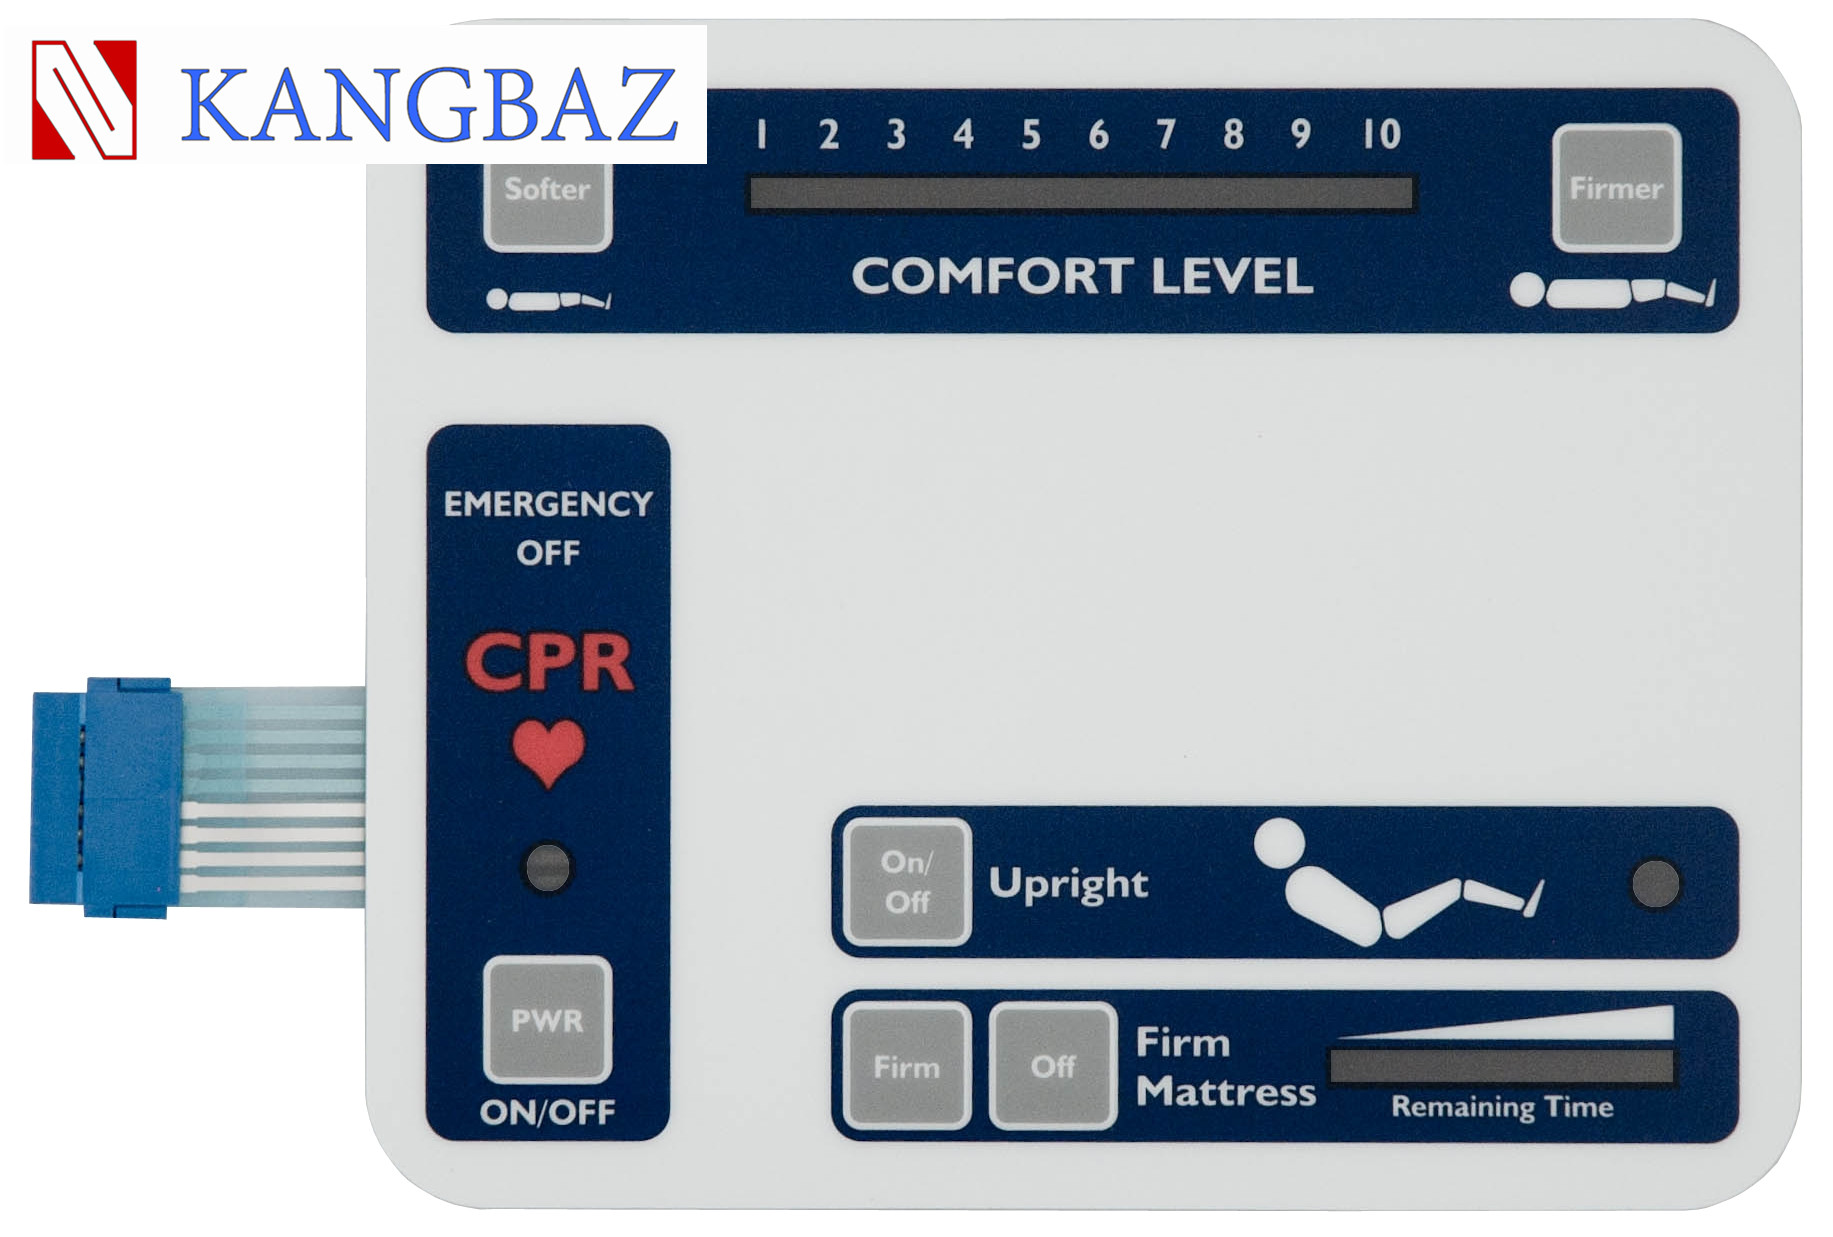
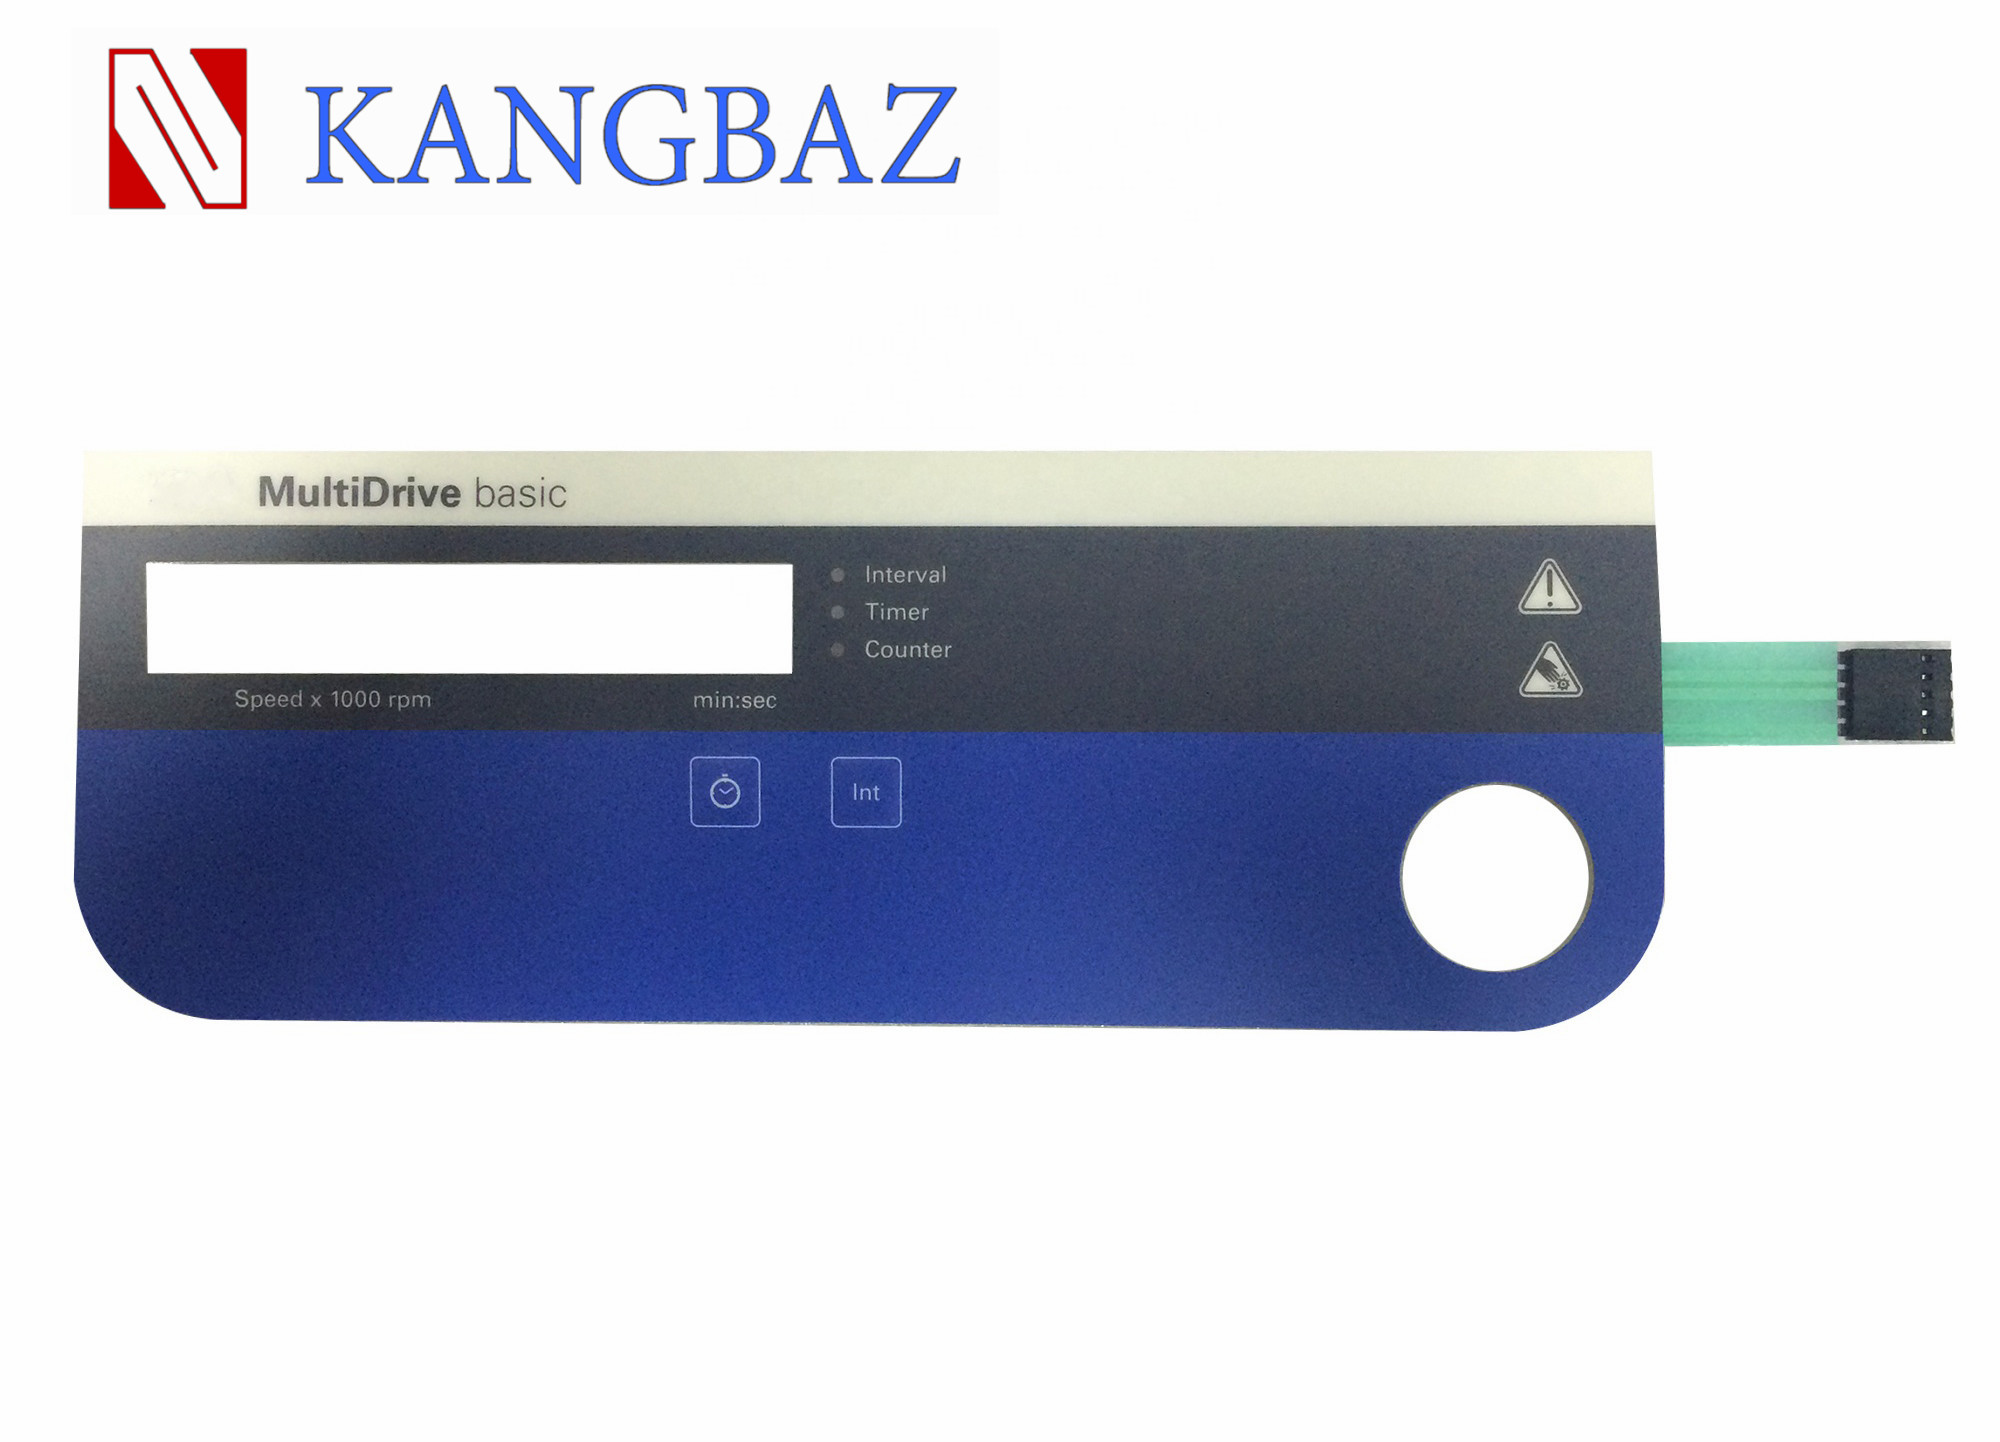
First developed in the late 1970s, innovations in membrane switch technologies have come a long way. In general, how a membrane switch works involves a continuous open circuit running through the bottom circuitry’s conductive inks. When pressed by an operator, the top circuit contacts and momentarily shorts the bottom open circuit. The short signals the desired action to the machine.
HOW DO MEMBRANE SWITCHES WORK?
First developed in the late 1970s, innovations in membrane switch technologies have come a long way. In general, how a membrane switch works involves a continuous open circuit running through the bottom circuitry’s conductive inks. When pressed by an operator, the top circuit contacts and momentarily shorts the bottom open circuit. The short signals the desired action to the machine.
converting_membrane_infographic
Graphic overlay: The interface layer consisting of the buttons and display that the operator sees and interacts with.
Graphic attachment adhesive: The adhesive layer that attaches the graphic overlay to the top circuit layer. The adhesive must be uniquely die cut to match the graphic overlay design as well as the outside dimensions of the membrane switch.
Example Tape Choice: 3M™ Graphic Attachment Adhesive 9045MP
Top circuit: The circuitry closest to the interface layer that, when pressed, hits the desired area on the bottom circuit layer.
Spacer adhesive: The adhesive that separates the circuit layers from each other. This membrane switch spacer, just as with the graphic attachment adhesive, requires a unique die-cut exactly matching the interface design of the graphic overlay and outside dimensions of the switch.
Example Tape Choice: 3M™ Membrane Switch Spacer 7956MP
Bottom circuit: The circuit running a continuous current through conductive inks (often silver, copper, or graphite.
Backer adhesive: Used to mount the membrane switch to the desired application. This final mounting adhesive also must fit the unique die-cut shape of the switche’s outside dimensions.
Example Tape Choice: 3M™ Switch Attachment Adhesive 467MP
THE VITAL ROLE OF DIE-CUT TAPES
As you can see from both the infographic and the rundown of a membrane switch’s construction, three layers of the device depend on die-cut adhesive technology. Half of the membranes needed to make the switch need adhesive layers that match the outside dimensions as well as the uniquely designed interface buttons.
Each membrane switch application has different constraints. They need to meet certain sizes, shapes, and room for other aspects of the product’s ultimate design. With each required specification comes the need for die-cut layers of adhesive to match.
A membrane switch’s graphic overlay is endlessly customizable from logos and fades to complex multi-color designs and sleek presentations. As a custom tape converter, we can both find you the adhesives that work best for the materials of your switch and, most importantly, die-cut your adhesive layers precisely to achieve your project’s exact design.


